

Introduction
Your hearing aids are a significant investment — and like any sophisticated device, they need consistent care. But with so many maintenance methods and tools out there, how do you know which approach is actually worth it?
Whether you want to learn how to extend the life of your hearing aids, or how to protect your hearing aids from heat damage, proper maintenance starts with understanding all your options.
This guide compares the most common hearing aid maintenance methods — from daily home routines to professional audiologist care — so you can make the most informed decision about protecting your devices.
What Is Hearing Aid Maintenance?
Hearing aid maintenance refers to the combination of daily care habits and long-term strategies that keep your devices performing at their best. Without regular upkeep, even the most expensive hearing aids can fail prematurely due to moisture, earwax buildup, and physical damage.
Like any medical device, hearing aids need routine cleaning and correct maintenance to ensure optimal performance. Regular upkeep not only extends the lifespan of your device, but also ensures you're always hearing as clearly as possible.
Daily Home Maintenance vs. Professional Cleaning: Full Comparison Table
| Feature | Daily Home Care | Professional Cleaning |
|---|---|---|
| Cost | Low ($10–$30 for a cleaning kit) | $40–$60 per visit |
| Frequency | Every day | Every 4–6 months |
| Tools needed | Soft cloth, brush, wax pick | Specialist audiologist equipment |
| Effectiveness | Good for surface debris | Deep clean + full diagnostics |
| Time required | 2–5 minutes | 30–60 minute appointment |
| Covers performance testing? | ❌ No | ✅ Yes |
| Can catch hidden damage early? | ❌ Limited | ✅ Yes |
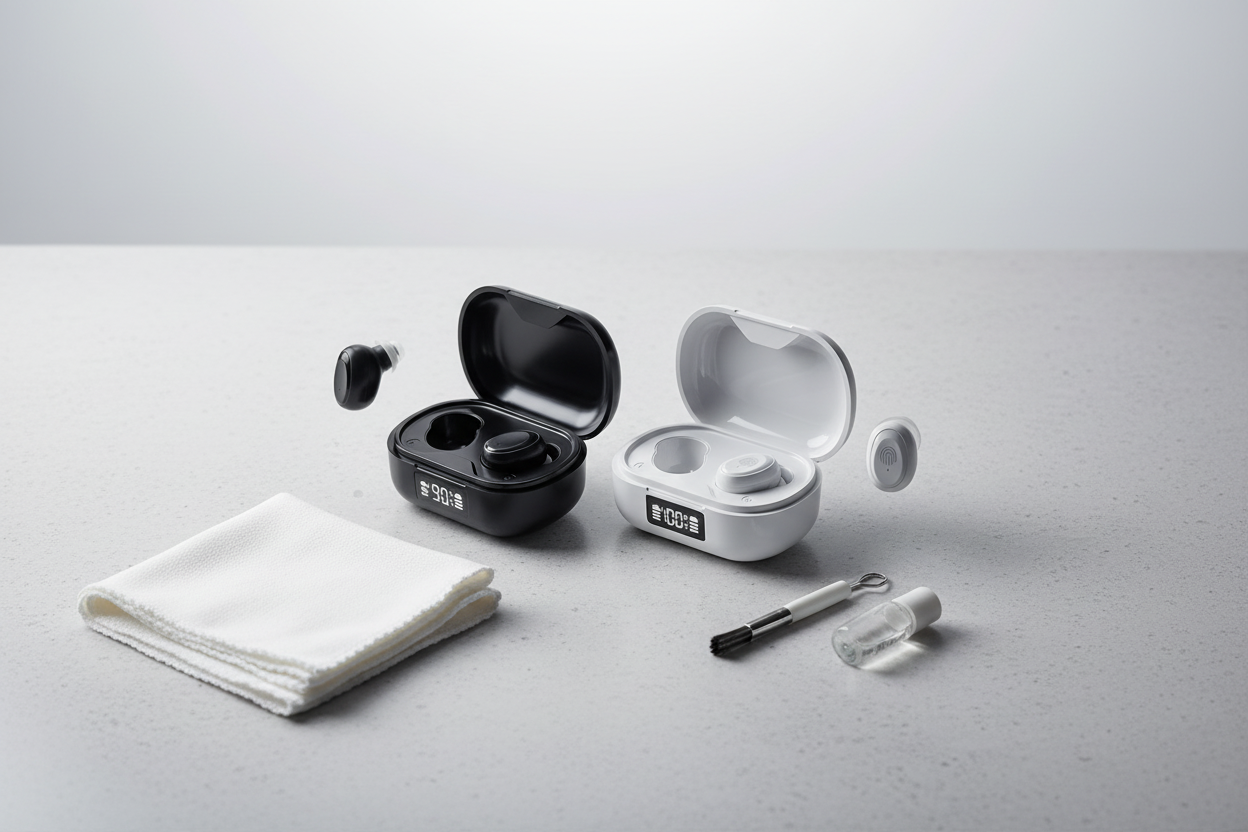
Method 1: Daily Home Cleaning
Daily home cleaning is your first line of defense against earwax buildup, moisture, and debris. A consistent daily routine prevents the most common causes of hearing aid failure and helps maintain clear, reliable sound quality.
Daily cleaning steps:
- At the end of each day, gently wipe down the entire hearing aid using a soft, dry cloth
- Use the brush or pick provided by your audiologist to clean the microphone and speaker ports
- Sweep away any earwax buildup from the vents and casing
- Replace wax guards monthly — or sooner if they appear clogged
- Store your device in a dehumidifier case overnight when not in use
Best tools for home maintenance:
Accessories like cleaning kits, dehumidifiers, and wax filters are essential for day-to-day upkeep. Wax filters — such as the commonly recommended Cerustop filters — are particularly effective at preventing wax and moisture from reaching internal components, contributing to clearer sound and reduced maintenance issues over time.
👉 Want a complete step-by-step home care routine? Read our full guide: How to Extend the Life of Hearing Aids
Method 2: Professional Audiologist Cleaning
Home care alone isn't enough to maintain peak performance. Audiologists recommend bringing your hearing aids in every 4–6 months for a deep professional clean — similar to visiting the dentist even if you brush your teeth every day.
What happens during a professional cleaning:
- Deep removal of debris from ports, microphone grilles, and tubing
- Performance verification tests including Real Ear Measurements
- Programming adjustments if your hearing needs have changed
- Physical inspection for signs of wear, damage, or component failure
Professional cleaning goes well beyond what home care can achieve, particularly for checking that amplification levels remain accurate across all frequencies.
Method 3: Dehumidifier-Based Overnight Care
Moisture is one of the leading causes of hearing aid failure. Humidity, sweat, and environmental condensation accumulate inside devices every single day — even if you can't see it.
Investing in a quality dehumidifier case ($20–$80) and placing your hearing aids inside it every night is one of the most cost-effective maintenance habits you can build. The desiccant inside draws out trapped moisture while you sleep, protecting internal circuits and extending the life of your device.
👉 Heat and humidity together are your hearing aid's biggest enemies. See our full guide: How to Protect Your Hearing Aid Against Heat
Method 4: Battery & Parts Replacement
Depending on your hearing aid type, regular parts replacement is an important part of maintenance:
| Part | Replacement Frequency |
|---|---|
| Wax guards/filters | Monthly (or when visibly clogged) |
| Disposable batteries | Every 3–4 weeks (model-dependent) |
| Tubing (BTE models) | Every 3–6 months |
| Ear molds | Every 1–2 years |
Always keep spare batteries and wax guards on hand. Don't wait for visible failure — proactive replacement prevents sound quality degradation and device damage.
Which Method Wins?
The honest answer: all of them, used together.
No single method is sufficient on its own:
- Daily home cleaning handles everyday earwax and surface debris
- Overnight dehumidifier care protects against invisible moisture damage
- Proactive parts replacement keeps performance consistent
- Professional cleaning every 4–6 months catches what home care misses — and keeps your programming accurate as your hearing needs change
Even with perfect home maintenance, most hearing aids last between four to six years before requiring replacement. The goal of a combined maintenance routine is to make sure you get every possible year out of your investment.
Key Takeaways
- Clean your hearing aids daily with a soft, dry cloth
- Use a dehumidifier case every single night
- Replace wax guards monthly
- Schedule professional cleaning every 4–6 months
- Replace batteries proactively — never wait for failure
Related Articles
- How to Extend the Life of Hearing Aids — 10 expert-backed daily care tips
- How to Protect Hearing Aids Against Heat — Keep your devices safe in hot weather
- How Much Does It Cost to Reprogram a Hearing Aid? — Full 2026 price guide
Share:
How to Extend the Life of Hearing Aids: 10 Expert Tips